
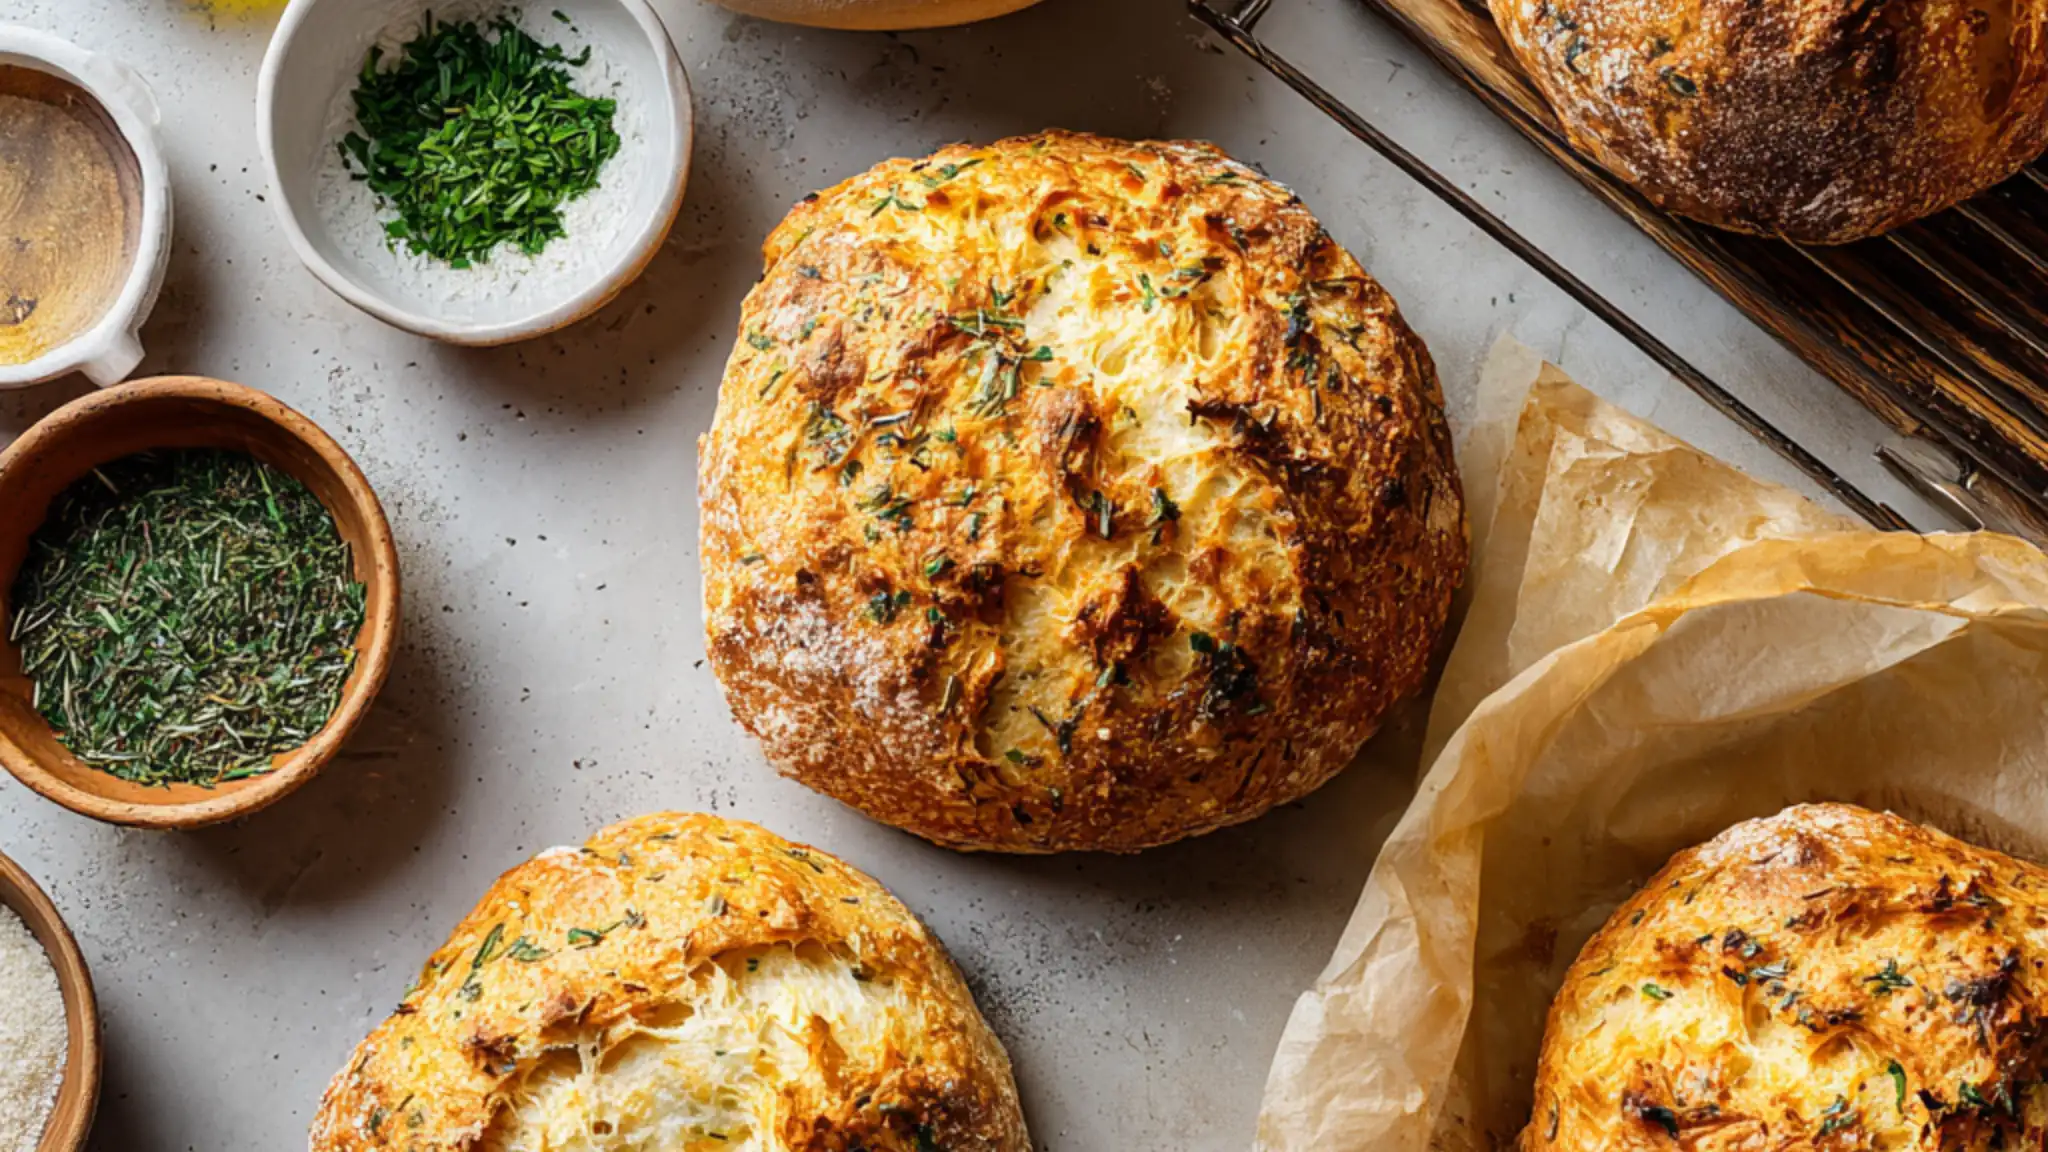
There’s something deeply comforting about baking bread at home, especially when it fills the kitchen with the smell of garlic and herbs. This no-knead garlic herb Dutch oven bread is designed for real life, no fancy techniques, no stress, just simple ingredients, a little patience, and a loaf that feels like a small win when it comes out of the oven. If you’ve ever felt intimidated by bread baking, this recipe is here to walk you through it, step by step, in a calm, friendly way.
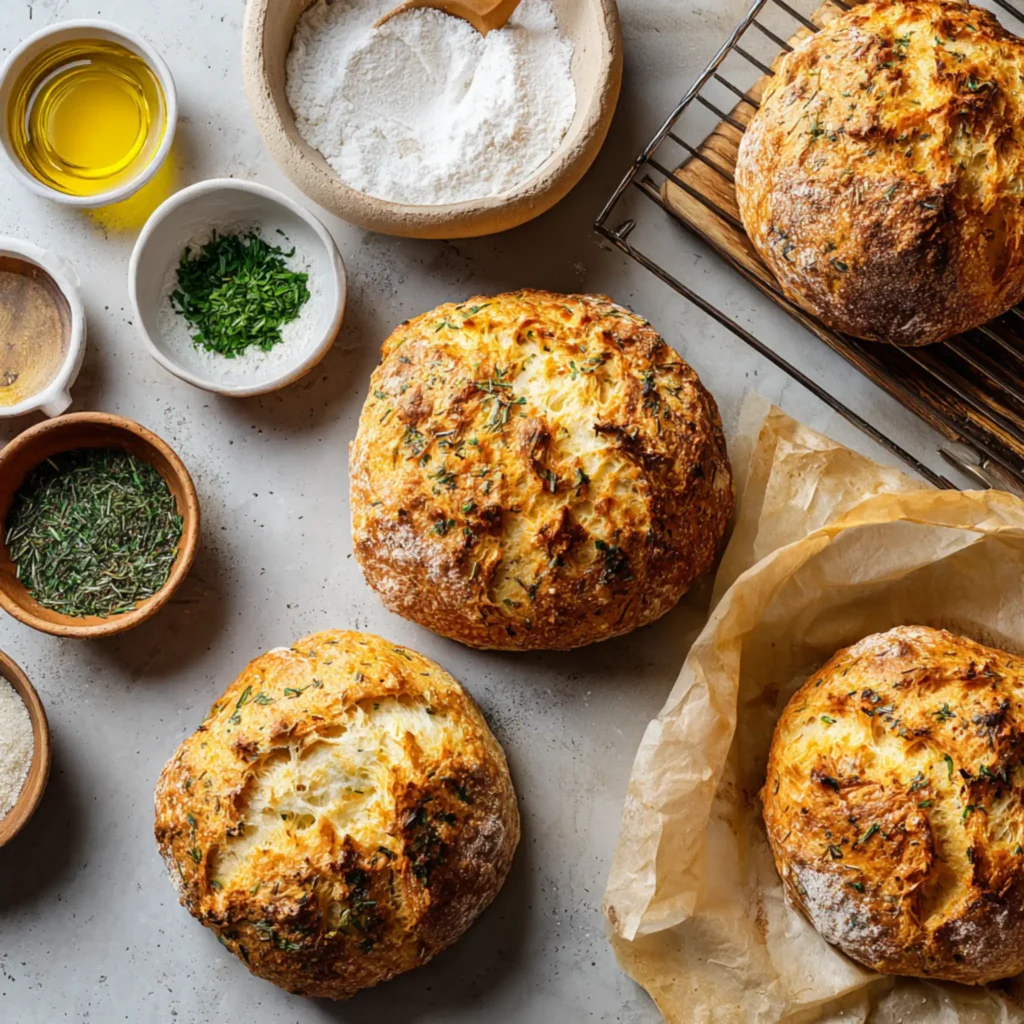
Table of Contents
Table of Contents
What makes this bread special
This bread relies on time rather than effort. Instead of kneading, the dough rests and slowly develops flavor and structure on its own. Baking it in a Dutch oven traps steam, which creates that irresistible crispy crust while keeping the inside soft and tender. The garlic and herbs give it a savory depth that works just as well for dinner as it does for dipping into soup or olive oil.
Ingredients you’ll need
Dry ingredients
All-purpose flour, 450 g (about 3 ½ cups)
Active dry yeast, 1 g (¼ teaspoon)
Fine sea salt, 9 g (1 ½ teaspoons)
Dried oregano, 1 teaspoon
Dried thyme, 1 teaspoon
Dried rosemary, ½ teaspoon, finely crushed
Garlic powder, 1 teaspoon
Wet ingredients
Warm water, 350 ml (1 ½ cups), about 38°C / 100°F
Olive oil, 1 tablespoon
Optional for finishing
Extra flour for shaping
A light drizzle of olive oil after baking
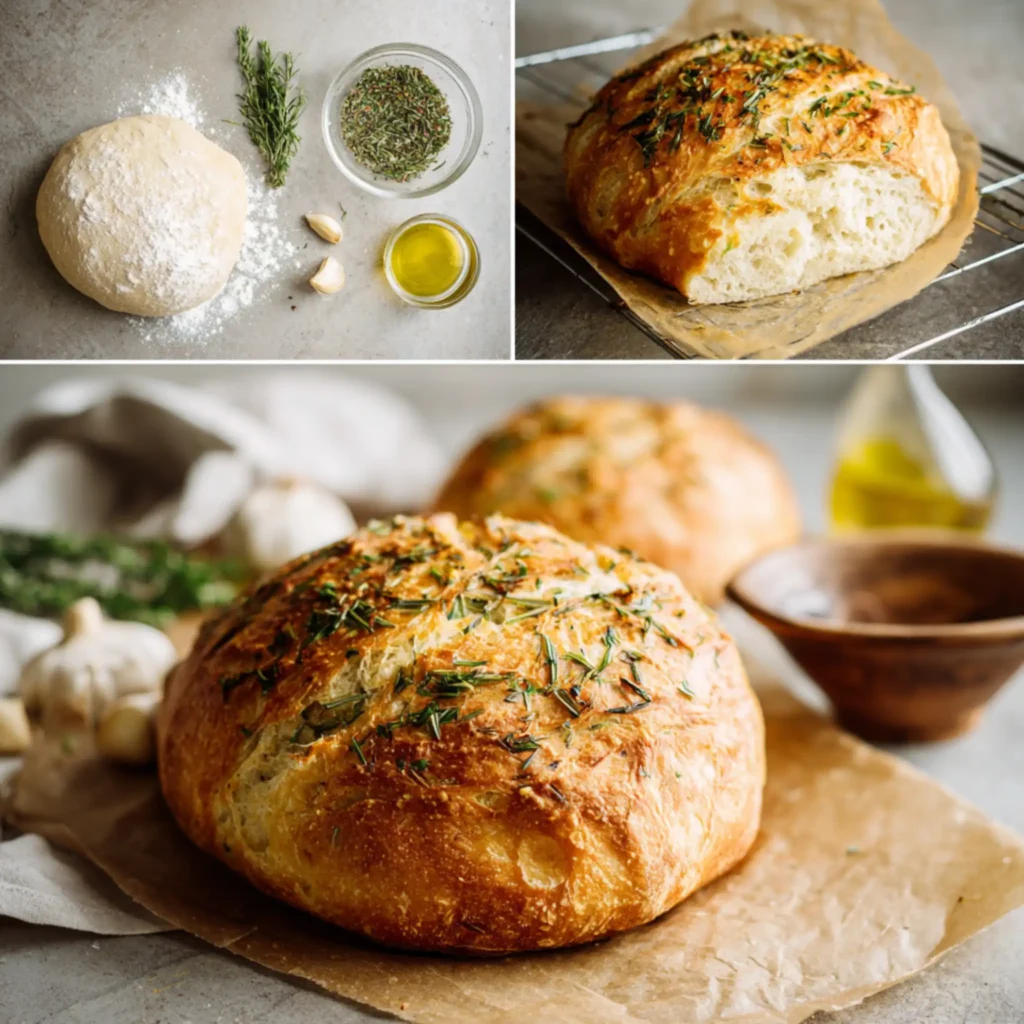
Step-by-step instructions
Step 1: Mix the dough
In a large bowl, add the flour, yeast, salt, oregano, thyme, rosemary, and garlic powder. Stir well so the herbs and yeast are evenly distributed. Pour in the warm water and olive oil. Using a wooden spoon or your hand, mix until all the flour is hydrated and you have a sticky, shaggy dough. It won’t look smooth, and that’s exactly right.
Step 2: First rise, slow and easy
Cover the bowl with plastic wrap or a clean kitchen towel. Leave it at room temperature for 12 to 18 hours. During this time, the dough will rise, bubble, and develop flavor. This slow fermentation is what gives the bread its texture and depth, so don’t rush it.
Step 3: Prepare for baking
When the dough is ready, it will look puffy and full of air bubbles. Lightly flour your work surface and your hands. Gently scrape the dough out of the bowl and fold it over itself once or twice, just enough to form a loose round. Do not punch it down aggressively, you want to keep as much air inside as possible.
Step 4: Second rest
Place the dough seam-side down on a piece of parchment paper. Lightly dust the top with flour. Cover it loosely with a towel and let it rest for 30 to 45 minutes. While it rests, place your Dutch oven with the lid inside the oven and preheat to 230°C / 450°F.
Step 5: Bake in the Dutch oven
Carefully remove the hot Dutch oven from the oven. Lift the parchment paper and lower the dough into the pot. Cover with the lid and place it back in the oven. Bake for 30 minutes with the lid on. Then remove the lid and bake for another 12 to 15 minutes, until the crust is deeply golden and crisp.
Step 6: Cool before slicing
Remove the bread from the Dutch oven and place it on a wire rack. Let it cool for at least 30 minutes before slicing. This step matters, the inside continues to set as it cools, and slicing too early can make it gummy.
Tips for the best garlic herb bread
Use fresh dried herbs for the best aroma, older herbs lose flavor over time.
If your kitchen is cold, place the dough in a slightly warmer spot, but avoid direct heat.
A cast iron Dutch oven works best, but any heavy oven-safe pot with a tight lid will do.
For a stronger garlic flavor, add 1 finely grated fresh garlic clove to the water before mixing.
Serving ideas
This bread is perfect with soups, stews, or salads. It’s also excellent toasted with butter, used for sandwiches, or served alongside pasta. A simple dip of olive oil and balsamic vinegar turns it into an easy appetizer.
Storage and freezing
Store the bread at room temperature, wrapped in a clean towel, for up to 2 days. For longer storage, slice once completely cooled and freeze in an airtight bag for up to 2 months. Toast slices straight from frozen for best texture.
Nutritional facts (per slice, approx.)
Calories: 165
Carbohydrates: 31 g
Protein: 5 g
Fat: 2.5 g
Fiber: 1.2 g
Sodium: 290 mg
Frequently asked questions
Can I use instant yeast instead of active dry yeast?
Yes, you can use the same amount. No need to change anything else in the recipe.
Why is my dough so sticky?
No-knead dough is supposed to be sticky. Resist the urge to add more flour, as this moisture is what creates a light crumb.
Do I really need a Dutch oven?
A Dutch oven is ideal because it traps steam, but any heavy pot with a lid that can handle high heat will work.
Can I add fresh herbs instead of dried?
Yes, but reduce the amount slightly and chop them very finely. Fresh herbs contain moisture, which can slightly change the dough texture.
How do I know when the bread is fully baked?
The crust should be deep golden brown, and the loaf should sound hollow when tapped on the bottom.
Final thoughts
Baking bread doesn’t have to be complicated or intimidating. This garlic herb Dutch oven bread is proof that simple ingredients and a little patience can create something deeply satisfying. It’s the kind of recipe you come back to again and again, not because it’s fancy, but because it works, and it makes your kitchen feel warm and alive.