
Easy Baked Chicken Cutlets with Parmesan and Panko Crust
There are days when you just want something comforting, simple, and reliable, the kind of meal you know will turn out right without overthinking it. For me, these baked chicken cutlets have become exactly that.
I started making them on busy evenings when I didn’t have the energy to deal with frying or a sink full of dishes. And honestly, I didn’t expect much the first time. But that first bite, crispy on the outside, juicy inside, with that savory Parmesan flavor, completely changed how I look at oven-baked chicken.
Now it’s one of those recipes I come back to without even checking notes. It just fits into real life.
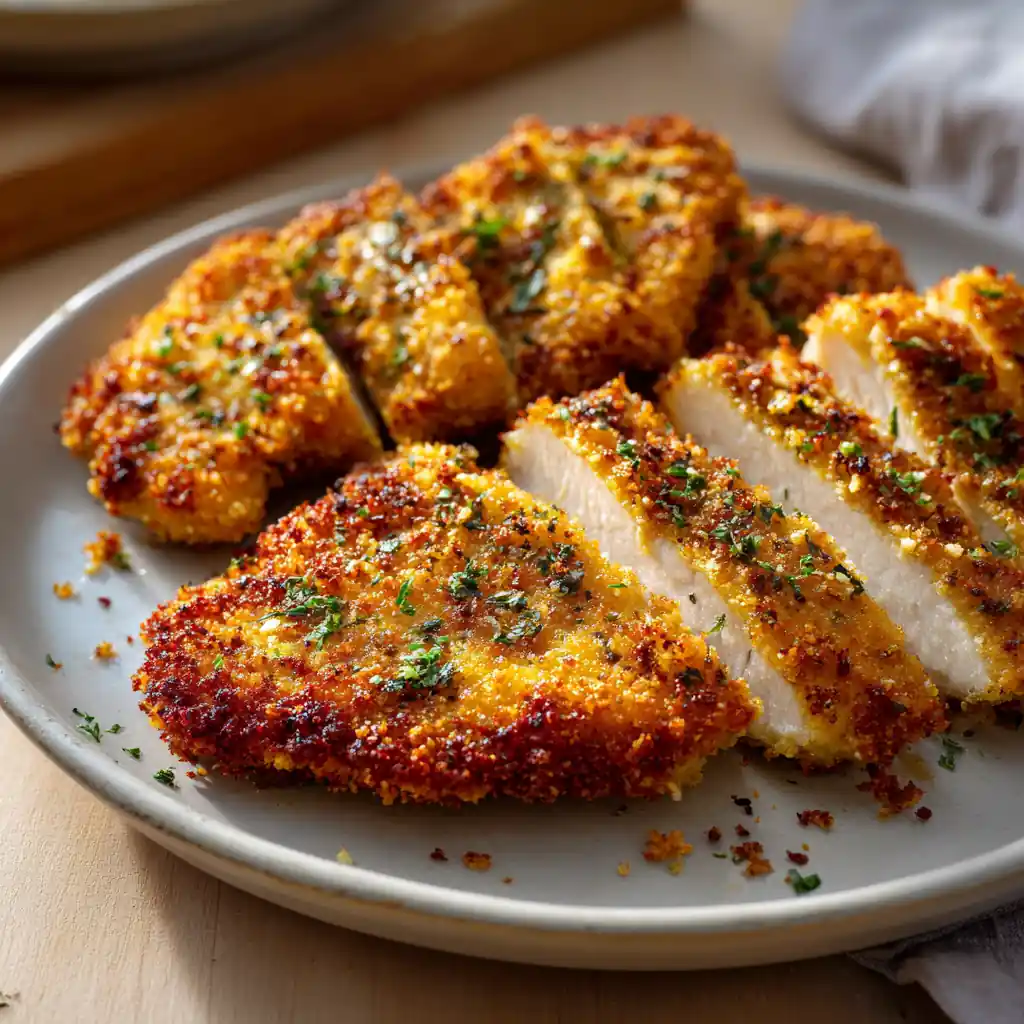
Table of Contents
When You Need Something That Just Works
You know those meals you can almost make on autopilot? This is one of them.
No complicated steps, no hard-to-find ingredients, just a handful of pantry staples coming together in the best way. And the best part is how forgiving it is. Even if your coating isn’t perfect or your cutlets aren’t exactly even, it still turns out good.
I’ve made this on rushed evenings, lazy weekends, and even when I just needed something comforting after a long day. It never disappoints.
Ingredients You’ll Need
Here’s everything I personally use when making this recipe, with exact measurements so you can get the same results:
For the Chicken
- 2 large boneless, skinless chicken breasts
- ½ teaspoon salt
- ½ teaspoon black pepper
For the Coating
- 1 cup panko breadcrumbs
- ½ cup finely grated Parmesan cheese
- 1 teaspoon garlic powder
- 1 teaspoon onion powder
- 1 teaspoon Italian seasoning
- ½ teaspoon paprika
For the Breading Process
- 2 large eggs
- 2 tablespoons milk
For Baking
- 2 tablespoons olive oil (or melted butter if you want a richer taste)
Let’s Talk About the Chicken First
Step 1: Slice and Flatten
I always start by slicing the chicken breasts horizontally. It makes such a difference.
Thinner cutlets cook faster, more evenly, and stay tender instead of drying out.
If they’re uneven, I place them between parchment paper and gently pound them. Nothing aggressive, just enough to even them out.
Step 2: Season Simply
A little salt and pepper on both sides goes a long way.
It’s easy to skip this step thinking the coating will handle all the flavor, but seasoning the chicken itself makes everything taste more complete.
Building That Crispy Parmesan Coating
Step 3: Mix the Dry Ingredients
In a shallow bowl, combine:
- Panko breadcrumbs
- Parmesan cheese
- Garlic powder
- Onion powder
- Italian seasoning
- Paprika
When I mix this, I like to run my fingers through it to break up any clumps of Parmesan. You want everything evenly distributed so every bite has that same flavor.
Step 4: Prepare the Egg Mixture
In another bowl, whisk together the eggs and milk.
It should be smooth and slightly frothy. This is what helps everything stick together.
The Part That Makes All the Difference
Step 5: Bread the Chicken
This is where I slow down just a little.
Dip each cutlet into the egg mixture, let the excess drip off, then press it firmly into the breadcrumb mixture.
And I really mean press. Don’t just coat it lightly. Use your hands and gently press the crumbs into the surface so they stick well.
That’s how you get that thick, crispy layer after baking.
Once coated, I place each piece on a plate and let them sit for a couple of minutes. It helps the coating settle.
Baking Them to Crispy Perfection
Step 6: Preheat and Prep
Set your oven to 425°F (220°C).
I usually line my baking sheet with parchment paper and then lightly brush it with olive oil.
Step 7: Arrange the Cutlets
Place the chicken on the tray in a single layer.
Give them space. If they’re too close, they won’t crisp properly.
Step 8: Add a Final Touch of Oil
I drizzle a little olive oil over the top of each cutlet.
It might seem small, but this is one of those details that really changes the final texture.
Step 9: Bake and Flip
Bake for 18 to 22 minutes.
About halfway through, flip them gently.
You’ll notice the bottom already turning golden, which is always a good sign.
By the end, the crust should be crisp and golden, and the inside juicy and fully cooked.
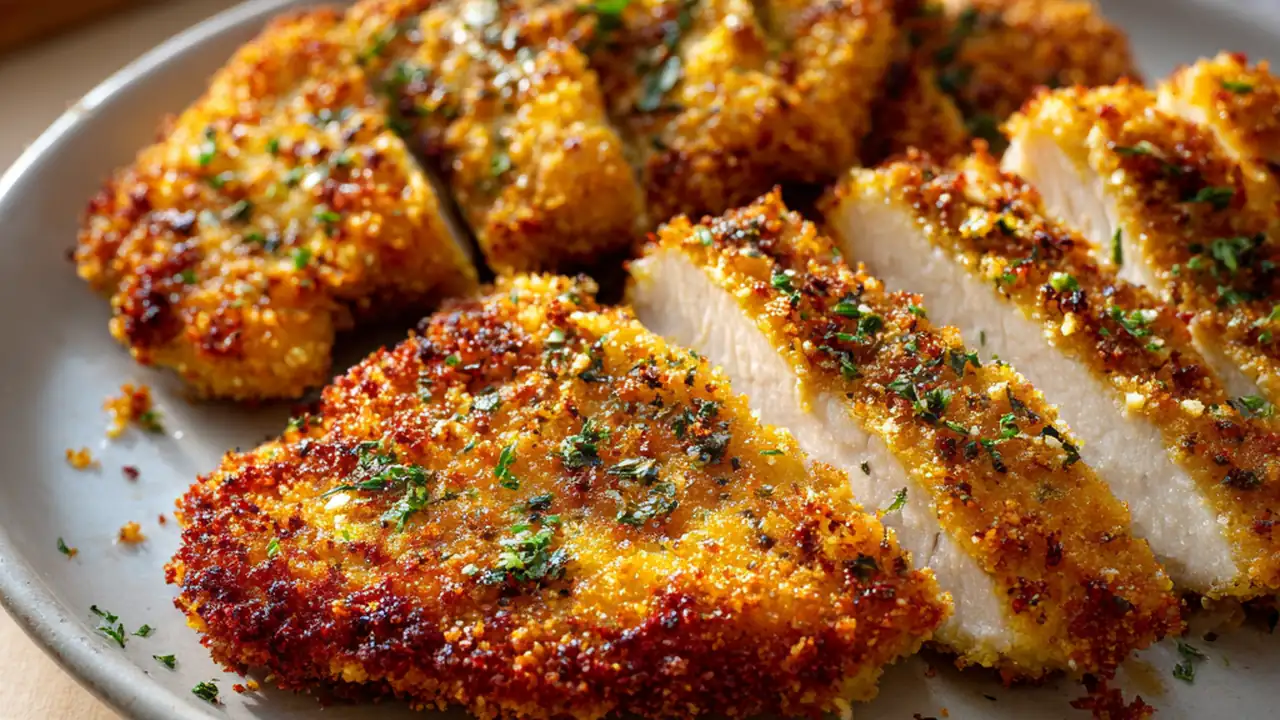
The Texture You’re Looking For
When these come out of the oven, the first thing you’ll notice is the sound.
That light crunch when you cut into them.
The outside is crisp but not hard, the inside tender and juicy. The Parmesan melts slightly into the breadcrumbs, giving a rich, savory flavor that doesn’t feel heavy.
It’s the kind of texture that makes you go back for another piece without even thinking.
Small Tweaks I Sometimes Make
Once you’ve made this a few times, you might start adjusting things based on your mood. I definitely do.
A Little Lemon Brightness
Sometimes I add a bit of lemon zest to the breadcrumb mixture. It lifts the flavor just enough.
Extra Crunch
If I want them extra crispy, I’ll toast the panko lightly in a pan before mixing it. It adds another layer of texture.
More Cheese
There are days when I just add more Parmesan. No real reason, just craving that deeper flavor.
A Few Extra Tips From My Kitchen
Over time, I’ve picked up a few small habits that really improved how these turn out.
First, I try not to rush the breading step. If you take just a little extra time to press the coating properly, the difference is noticeable once baked.
Another thing I do is let the breaded chicken rest for 5 minutes before putting it in the oven. It helps the coating stick better and reduces the chance of it falling off.
And if I have a wire rack, I sometimes place it on top of the baking sheet and bake the cutlets on it. That way, hot air circulates underneath too, giving an even crisp on both sides.
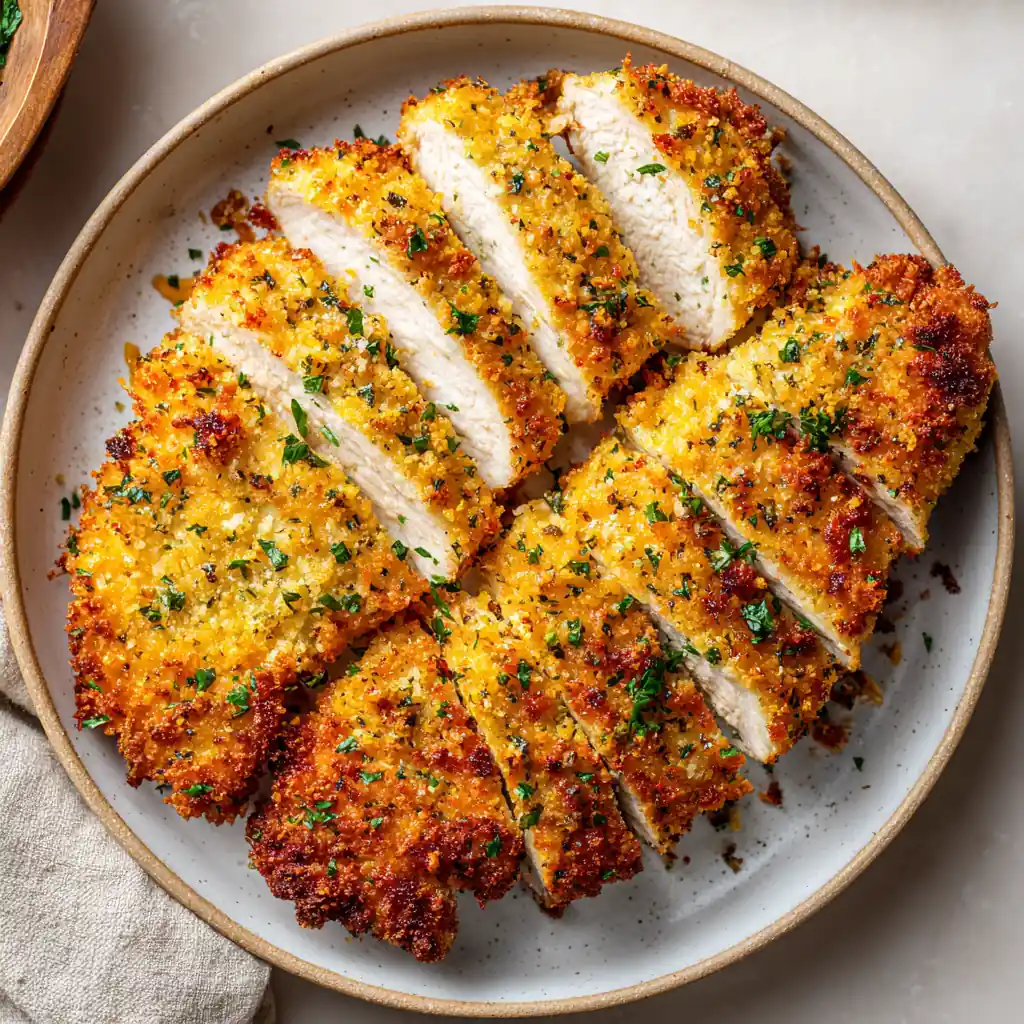
How I Like to Serve Them
Most of the time, I keep it simple.
A fresh salad on the side, maybe some roasted vegetables, and that’s it.
But when I want something more filling, I’ll slice the cutlets and put them into a wrap or sandwich. Add a bit of sauce, some lettuce, maybe tomato, and it turns into a completely different meal.
Sometimes I even serve them with a quick homemade dip, like a yogurt garlic sauce or a light honey mustard. It adds a nice contrast to the crispy coating.
It’s one of those recipes that adapts to whatever you feel like eating.
Storing and Reheating Without Losing the Crunch
If you somehow have leftovers, they hold up really well.
In the Fridge
Store them in an airtight container for up to 3 days.
Reheating
I always reheat them in the oven at 375°F (190°C) for about 8–10 minutes.
They crisp back up nicely, almost like freshly made.
Freezing
You can freeze them too. Just reheat directly from frozen in the oven until hot and crispy again.
Mistakes I’ve Made (So You Don’t Have To)
I’ve made this enough times to know what can go wrong.
One time I crowded the pan, and instead of crisping, the chicken steamed. Not great.
Another time I skipped the oil, thinking it wouldn’t matter. It definitely did. The coating stayed pale and a bit dry.
And once I overbaked them while multitasking, they were still good, but not as juicy.
So now I keep it simple: space them out, add a little oil, and keep an eye on the time.
Nutritional Facts (Per Serving, Approximate)
- Calories: 320
- Protein: 32g
- Carbohydrates: 18g
- Fat: 14g
- Saturated Fat: 4g
- Fiber: 1g
- Sodium: 480mg
Frequently Asked Questions
Can I prepare these ahead of time?
Yes, and I actually do this sometimes. You can bread the chicken a few hours earlier and keep it in the fridge until you’re ready to bake.
What’s the best way to keep them crispy?
For me, it always comes down to three things: high oven temperature, enough oil, and not overcrowding the pan.
Can I use chicken tenders instead?
Absolutely. I’ve done that when I wanted smaller portions. Just reduce the cooking time slightly.
Why does my coating fall off sometimes?
Usually it’s because the chicken was too wet or the coating wasn’t pressed on firmly. Taking a few seconds to press it makes a big difference.
Can I make this without eggs?
You can substitute with a mixture like yogurt or even a light mayo coating. It changes the flavor slightly but still works.
How do I make them extra crispy?
Toasting the panko beforehand or adding a little extra oil on top helps a lot.
Final Thoughts
This recipe isn’t just about chicken cutlets. It’s one of those small kitchen wins that makes cooking feel easier and more enjoyable.
It’s simple enough to make without stress, but still gives you that satisfying, homemade result that feels like you really cooked something good.
And once it becomes part of your routine, you’ll find yourself coming back to it without even thinking, especially on those days when you just need something that works.